Camera
Using Mappedin SDK for React Native with your own map requires a Pro license. Try a demo map for free or refer to the Pricing page for more information.
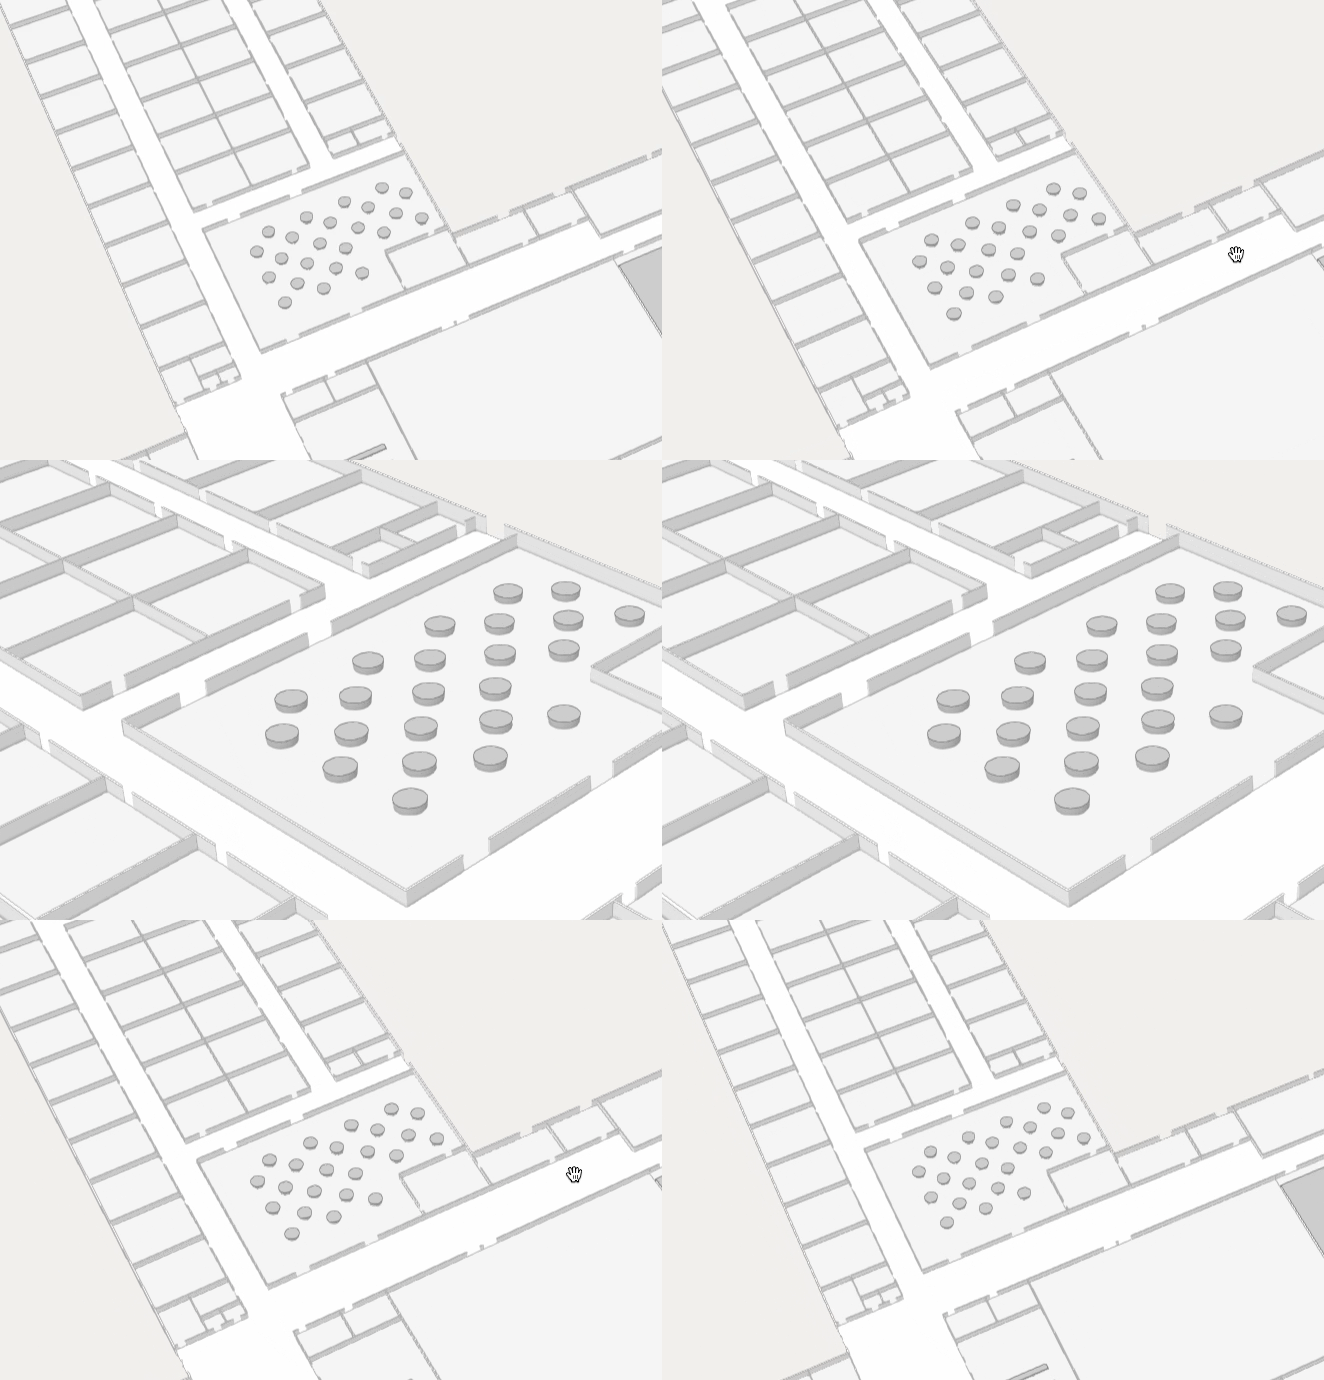
Controlling the view of the map allows apps to create visually rich experiences using Mappedin SDK for React Native. This guide shows how to focus the map view on targets, move the camera and listen to camera events.

Note that the MapViewControl class implements the Camera interface and exposes it as MapViewControl.Camera. Use MapViewControl.Camera to utilize Camera's methods.
Focus the Camera on Targets
Mappedin JS has built in functionality to focus the camera on one ore more targets using a single or array of Mappedin.IFocusable. When multiple targets are used, the SDK will ensure that all targets are visible.
The following sample code acts on the click event to focus on the Mappedin.Space the user clicked on. Note that the Mappedin.Space must be set to interactive to allow it to be clickable. Refer to the Interactivity guide for more information on how to set a space to interactive.
// Act on the click event to focus on the Space that was clicked.
useMapViewEvent('click', async (event: Mappedin.TClickPayload;) => {
	// Focus on the space that was clicked.
	mapView.Camera.focusOn(event.spaces[0]);
});
Controlling the Camera
To control the camera, set it with new pitch, bearing or zoom using MapViewControl.Camera.set(). It accepts a Mappedin.TCameraTarget object that contains bearing, center coordinate, pitch and zoom level. These parameters are all optional, allowing the camera to by moved by adjusting one or more of these values.
TCameraTarget
- bearing: Bearing for the camera target in degrees.
- center: Center
Coordinatefor the camera target. - pitch: Pitch for the camera target in degrees.
- zoomLevel: Zoom level for the camera target in mercator zoom levels.
mapView.Camera.set({
	bearing: 30,
	pitch: 80,
	zoomLevel: 19.5,
	center: e.coordinate,
});
Animation
The camera can also be animated into position using the same transforms described in the Controlling the Camera section above. This is done using the MapViewControl.Camera.animateTo() method. Similar to MapViewControl.Camera.set(), the animateTo method accepts a Mappedin.TCameraTarget object, but it is optional. This allows the camera to changed by adjusting its bearing, pitch or zoomLevel without specifying a new target to move to. In addition, animateTo also accepts Mappedin.TCameraAnimationOptions that allow setting of the duration of the animation in milliseconds and setting the easing curve.
The next code snippet acts on the click event to animate the camera to the click position. It uses easing ease-in-out over 4000 milliseconds.
// Act on the click event to animate to a new camera position.
useMapViewEvent('click', async (event: Mappedin.TClickPayload) => {
	mapView.Camera.animateTo(
		{
			bearing: 30,
			pitch: 80,
			zoomLevel: 18,
			center: event.coordinate,
		},
		{ duration: 4000, easing: 'ease-in-out' },
	);
});
The types of easing anmiations are defined in Mappedin.TEasingFunction.
TEasingFunction
- Linear: This function implies a constant rate of change. It means the animation proceeds at the same speed from start to end. There's no acceleration or deceleration, giving a very mechanical feel.
- Ease-in: This function causes the animation to start slowly and then speed up as it progresses. Initially, there's gradual acceleration, and as the function moves forward, the rate of change increases.
- Ease-out: Contrary to ease-in, ease-out makes the animation start quickly and then slow down towards the end. It begins with a faster rate of change and gradually decelerates.
- Ease-in-out: This function combines both ease-in and ease-out. The animation starts slowly, speeds up in the middle, and then slows down again towards the end. It offers a balance of acceleration and deceleration.
Resetting The Camera
While there is no method in Mappedin SDK for React Native to reset the camera to its default position, this can be easily built into an app. To do so, store the camera position after the map is shown and then use those values to reposition the camera at a later time.
The code sample below stores the initial camera position. When a user clicks on a location it first focuses on that space. The next click will return the camera to its original position.
let focused: boolean = false;

const defaultCameraPosition: TCameraTarget = {
	bearing: mapView.Camera.bearing,
	pitch: mapView.Camera.pitch,
	zoomLevel: mapView.Camera.zoomLevel,
	center: mapView.Camera.center,
};

// Set each space to be interactive and its hover color to orange.
mapData.getByType('space').forEach((space) => {
	mapView.updateState(space, {
		interactive: true,
		hoverColor: '#4248FF',
	});
});

// Act on the click event to focus on the Space that was clicked or reset the camera.
useMapViewEvent('click', async (event: Mappedin.TClickPayload) => {
	if (focused) {
		// Reset the camera to its default position.
		mapView.Camera.set(defaultCameraPosition);
		focused = false;
	} else {
		// Focus on the space that was clicked.
		mapView.Camera.focusOn(event.spaces[0]);
		focused = true;
	}
});
Listening to Camera Events
There are several camera events that can be acted on by setting a listener with useMapViewEvent('camera-change'). The camera-change event contains a Mappedin.CameraTransform object. Mappedin.CameraTransform provides the bearing, center coordinate, pitch and zoom level.
// Log camera change events to the console.
useMapViewEvent('camera-change', async (cam: Mappedin.CameraTransform) => {
	console.log(
		'Bearing: ' +
			cam.bearing +
			', Pitch: ' +
			cam.pitch +
			', Zoom Level: ' +
			cam.zoomLevel +
			', Center: Lat:' +
			cam.center.latitude,
		+', Lon:' + cam.center.longitude,
	);
});