3D Model Mapper
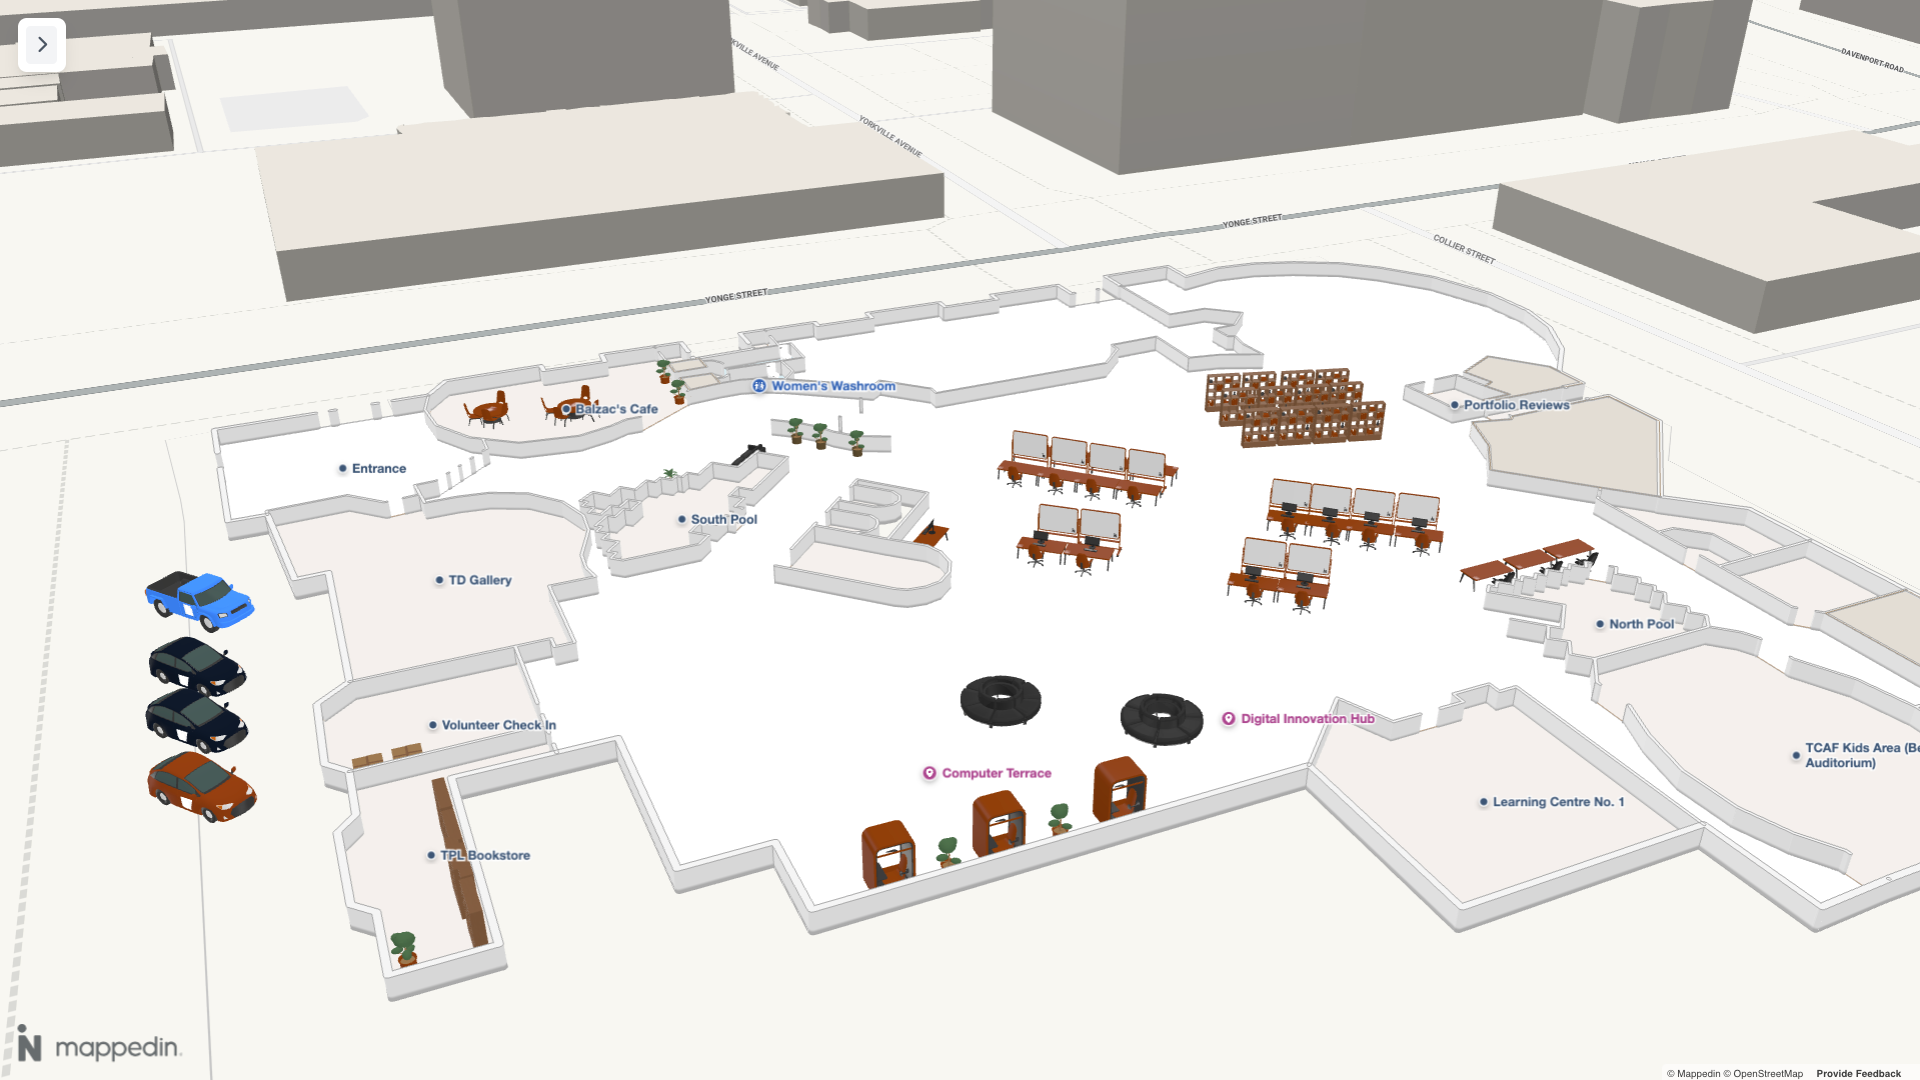
The 3D Model Mapper allows a user to place 3D models on a map and customize their appearance. Models that are placed on the map can be exported to a JSON file and used in other projects. The 3D Model Mapper uses models from the Mappedin 3D Assets Library.
How to use the 3D Model Mapper
When initially opened, the 3D Model Mapper will use a demo key and secret to load Mappedin's demo venues.
Loading Your Own Map
To load your own map, you will need to provide your own API key and secret. These require a Mappedin Pro or Solutions subscription. Refer to Create a Key & Secret for instructions to create your own key and secret.
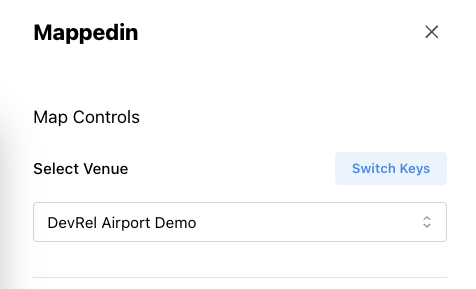
Once you have your own key and secret, click on the Switch Keys button in the Mappedin menu, enter your key and secret, and click Submit. A list of your maps will appear within the Select Venue dropdown menu. Choose the map you wish to use. Note that switching maps will clear all models currently on the map.
Placing & Editing Models
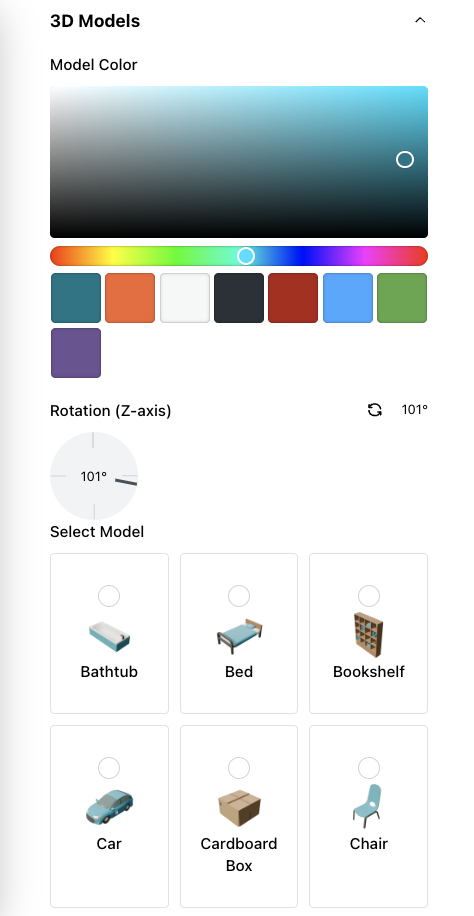
Expand the Mappedin menu to view a selection of 3D models that can be placed on the map. Select the desired model and customize its color and rotation from within this menu.
Models are placed on the map by left clicking. Once a model is placed, it can be edited or deleted by right clicking on it.
To remove all models from the map, expand the Mappedin menu and click the Remove All Models button.
Exporting & Importing Models
To export the models currently on the map, expand the Mappedin menu and click the Export Models button. This will download a JSON file containing the models currently on the map. These models can be imported into the 3D Model Mapper by clicking the Import Models button.
The model export file positions models using latitude and longitude coordinates. This means the export file must be imported into the same map (or a map at the same location) for the models to be visible.
Using the 3D Model Export In Other Projects
The 3D Model Export can be used in other projects. The following examples demonstrate how this could be done. These are minimal examples that read the exported JSON file and display the models.
The React 3D Model Mapper Import Example is embedded below:
Using the Import Examples With Other Maps
The import examples can be used with other maps by loading the exported JSON file into the import example and updating the key, secret and mapID used in the example. To load your own map, you will need to provide your own API key and secret. These require a Mappedin Pro or Solutions subscription. Refer to Create a Key & Secret for instructions to create your own key and secret.
Follow the steps below to use the import examples with your own map:
- Open the React or TypeScript CodeSandbox example.
- Click on the
Forkbutton at the top right of the page to create your own copy of the example. - Upload an exported JSON file to the project.
- Update the key, secret and mapID in the example to match your own map.
- Update the filename of the JSON file from
mappedin-models.jsonto the filename of the JSON file you uploaded. - Run the project to see the models in your map.
For more information on using 3D models with Mappedin JS refer to the 3D Models Guide.