Zoom Rooms
The Mappedin Zoom Rooms integration enables use of Mappedin Maps in Zoom Rooms.
Prerequisites
The Mappedin Zoom Rooms integration is currently free, however in the future it will require a Mappedin Pro subscription.
This requires a Zoom organization that has access to centralized location management and has a location directory configured with at least one "Floor" structure type. These floors should link one-to-one with levels in a Mappedin map. Synchronizing every floor is not required.
Refer to this Zoom documentation for details: https://support.zoom.com/hc/en/article?id=zm_kb&sysparm_article=KB0057977
Setup
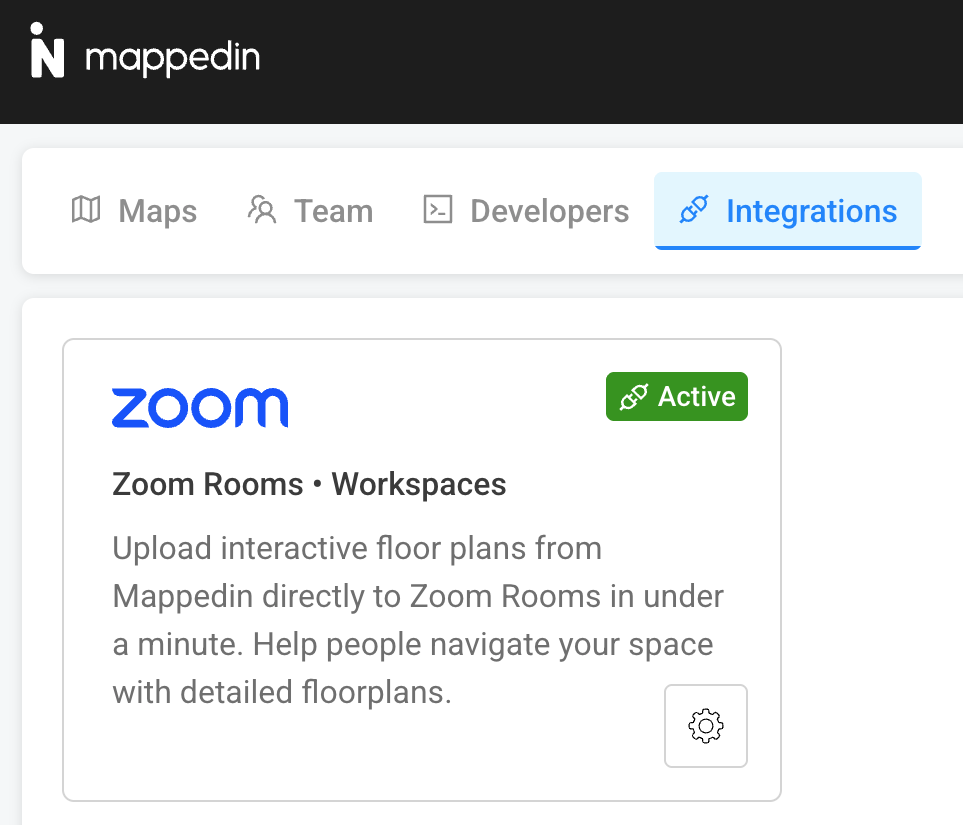
- Log into Mappedin, and look for the Integrations tab in the top tab bar.
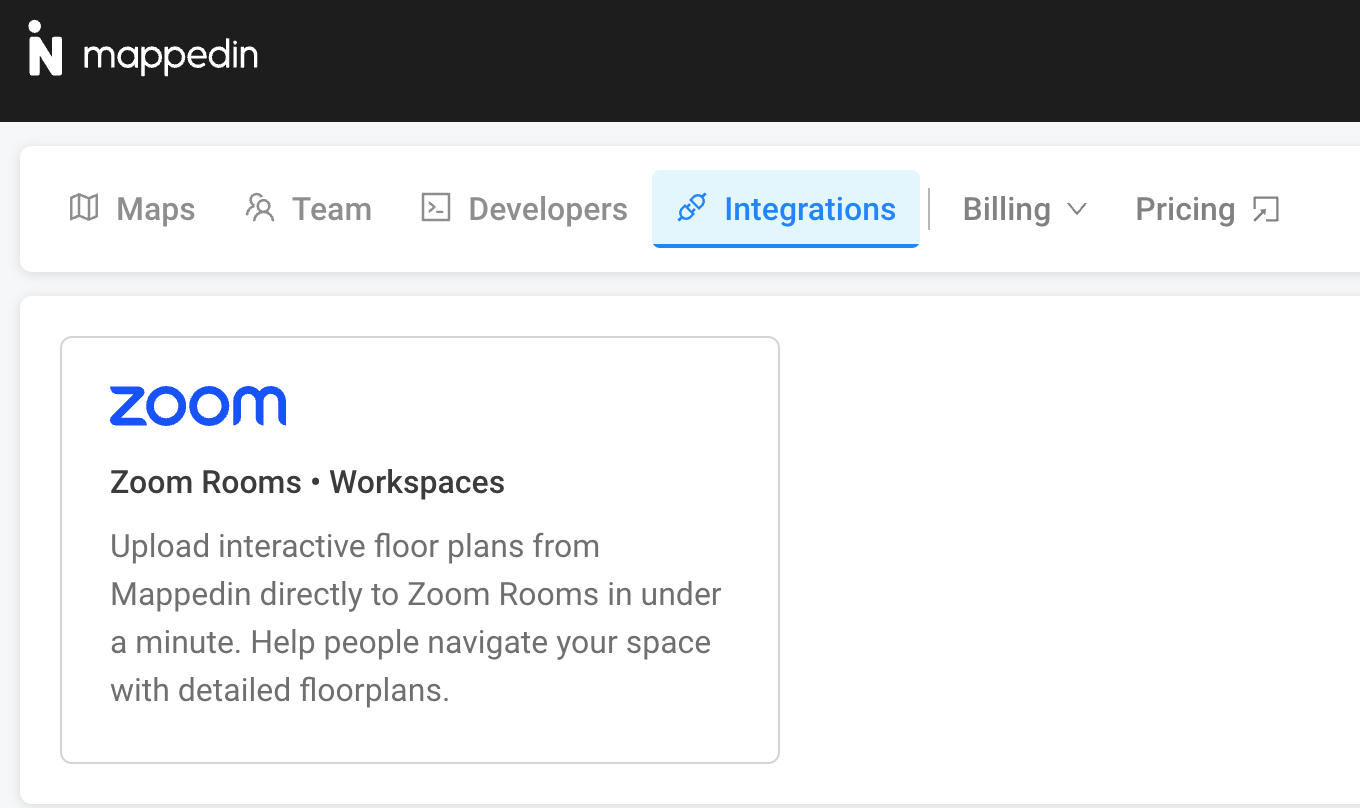
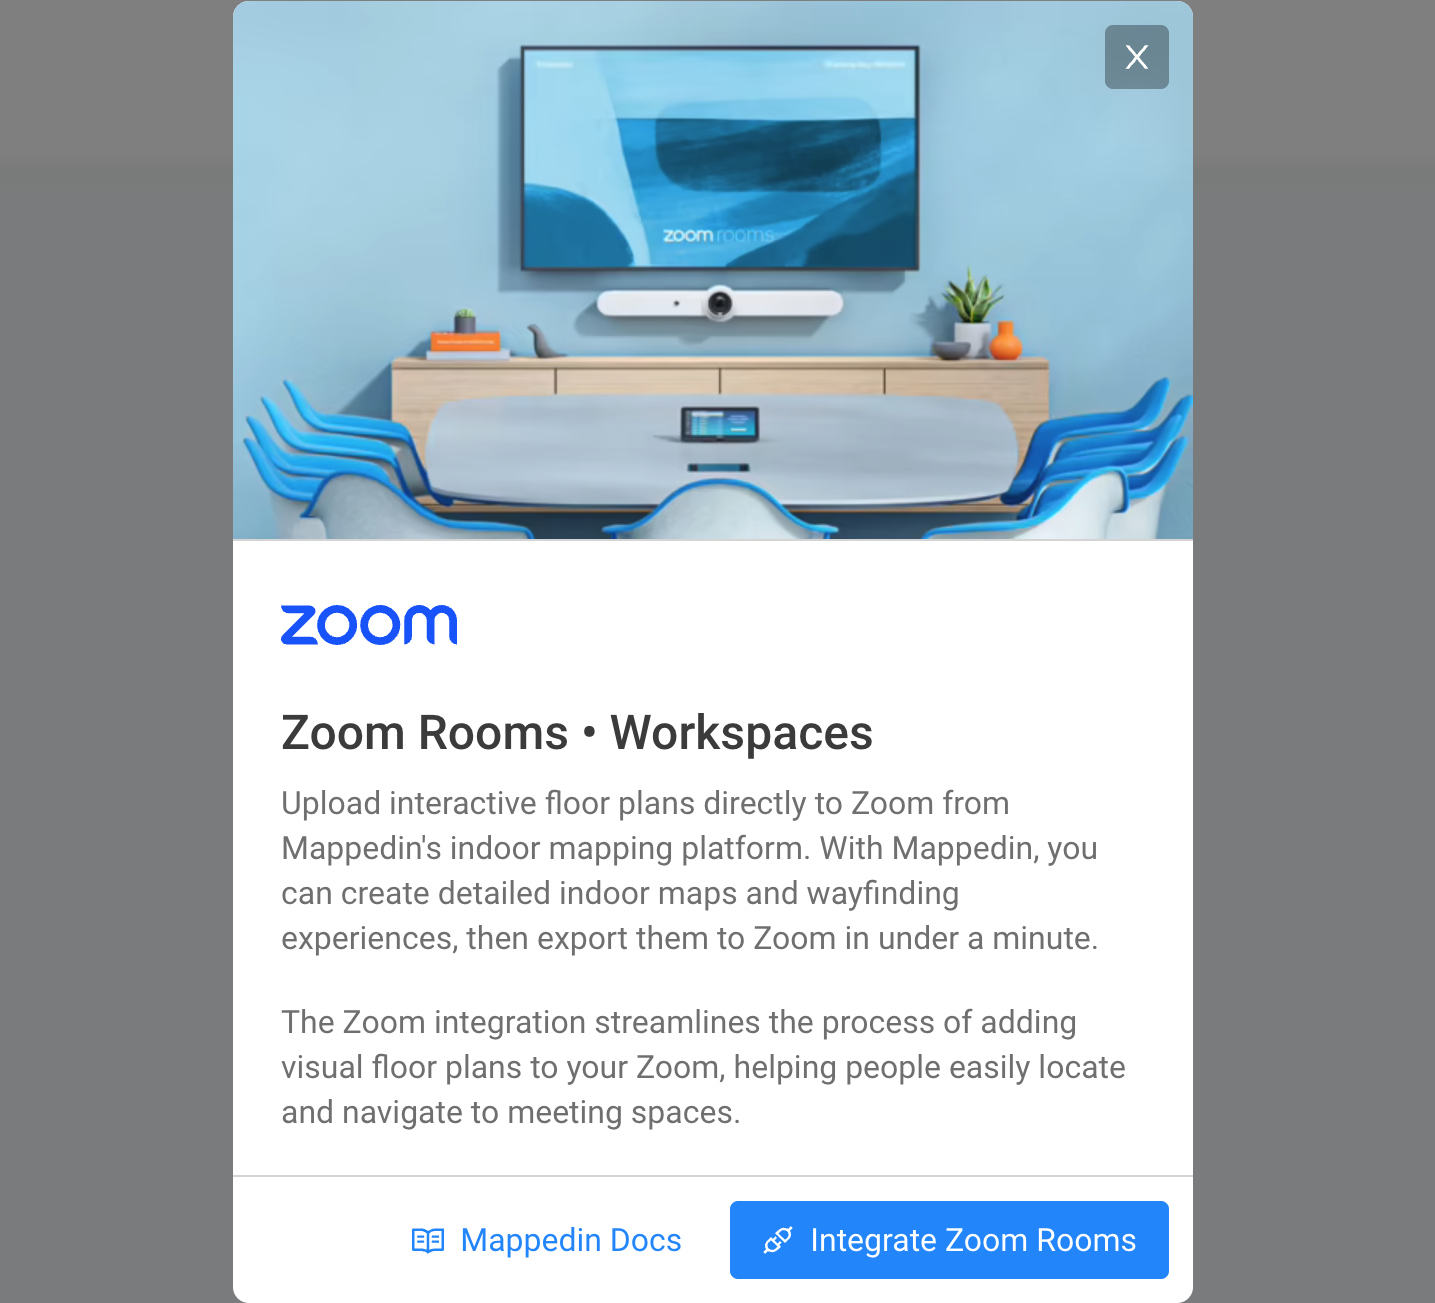
- Select the Zoom Rooms integration card, and then press "Integrate Zoom Rooms". This will direct you to a Zoom login page, which will detail the required permissions for setting up the integration and ask you to authenticate.
- After logging in, the Zoom Rooms integration should show that it is active.
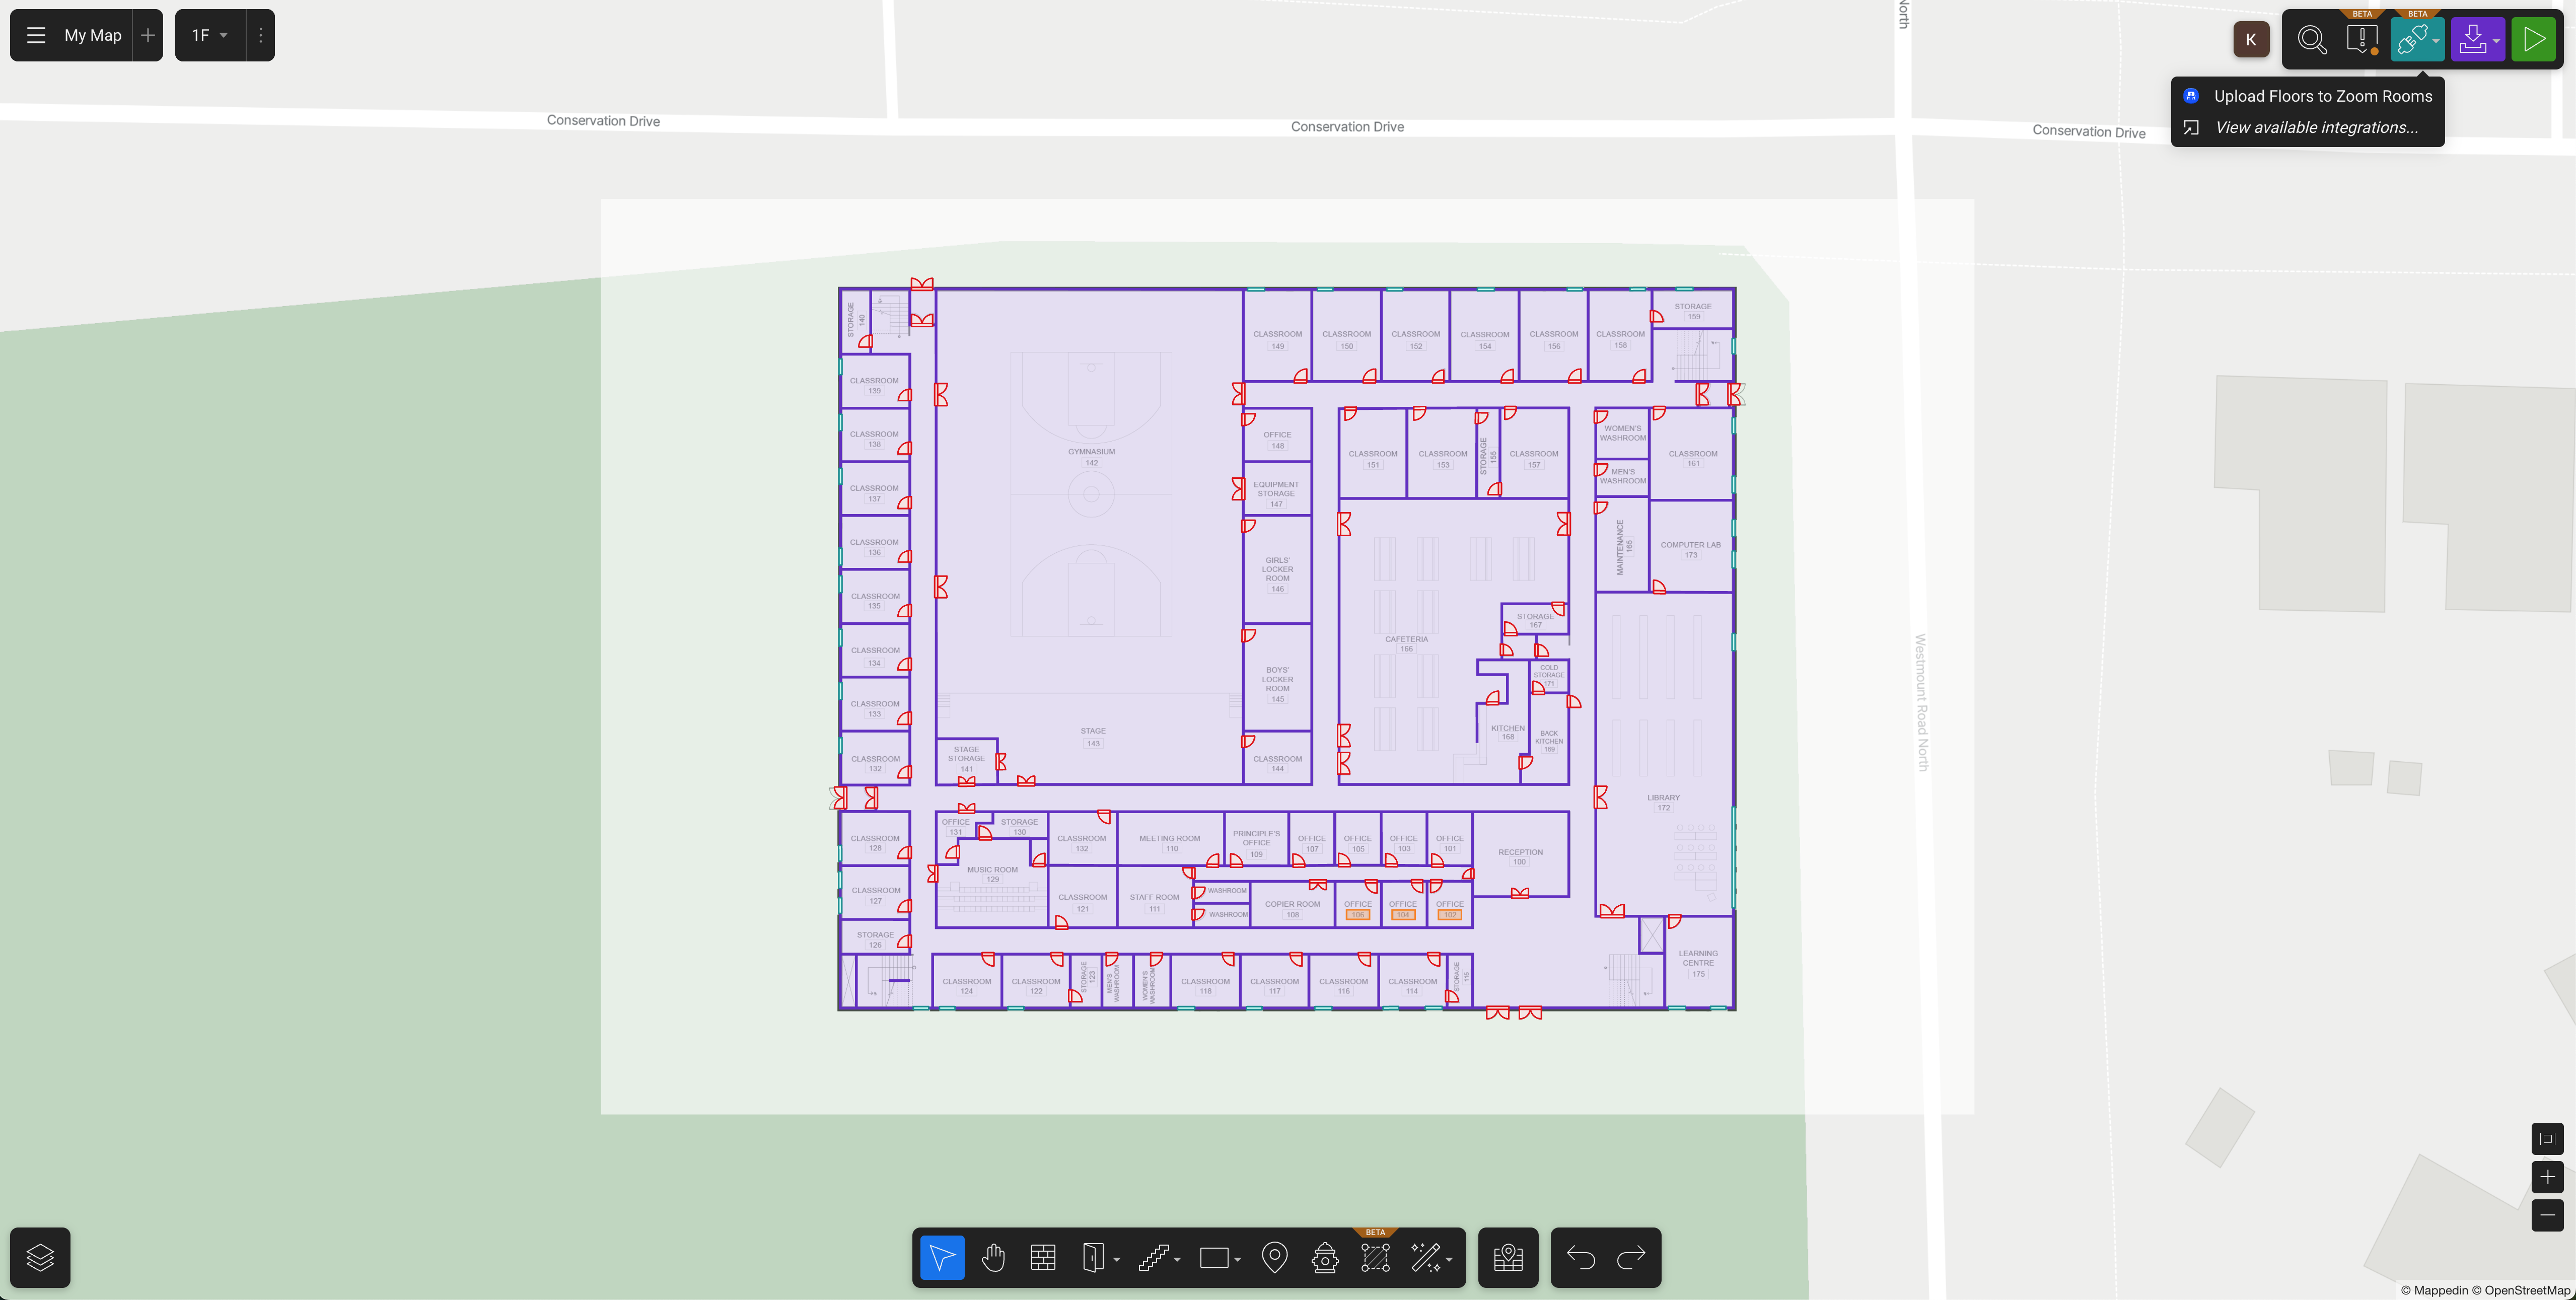
- Open the map to sync with Zoom in Mappedin Maker. An Integrations button should be shown in the top right, with an option to upload the floors.
- After selecting this option, you will see a dialog displayed listing all of the floors on your Mappedin map, along with a checkbox to control whether that floor should be uploaded, and a drop-down selector to choose the Zoom floor you would like to link to. Configure all of the desired floor links here. Once submitted, these settings will be remembered for the future.
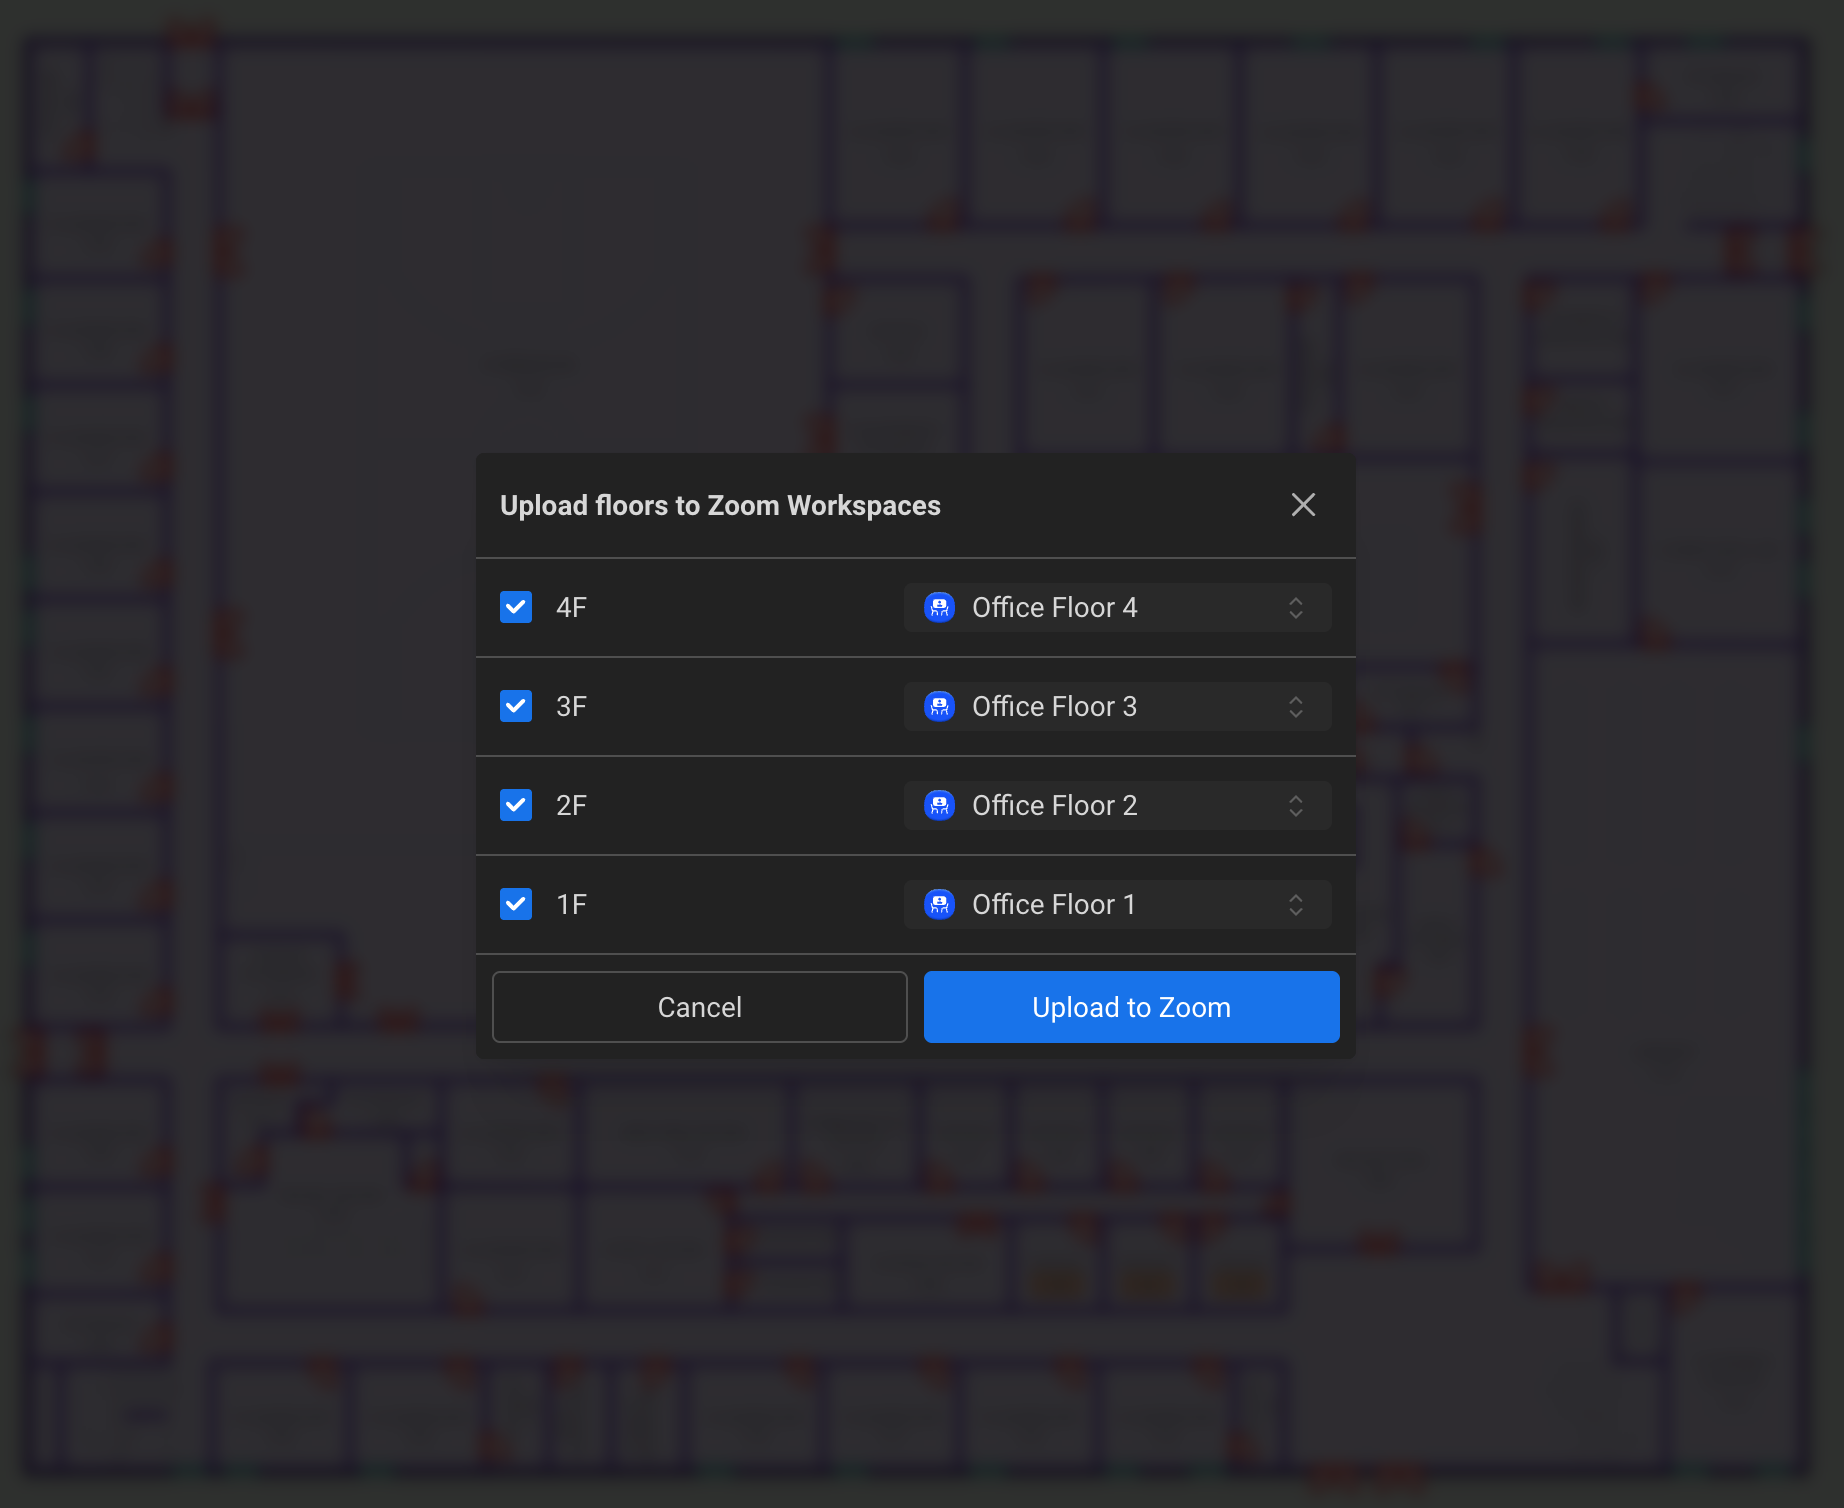
- When ready to submit, select Upload to Zoom. Keep the tab open until this process completes.
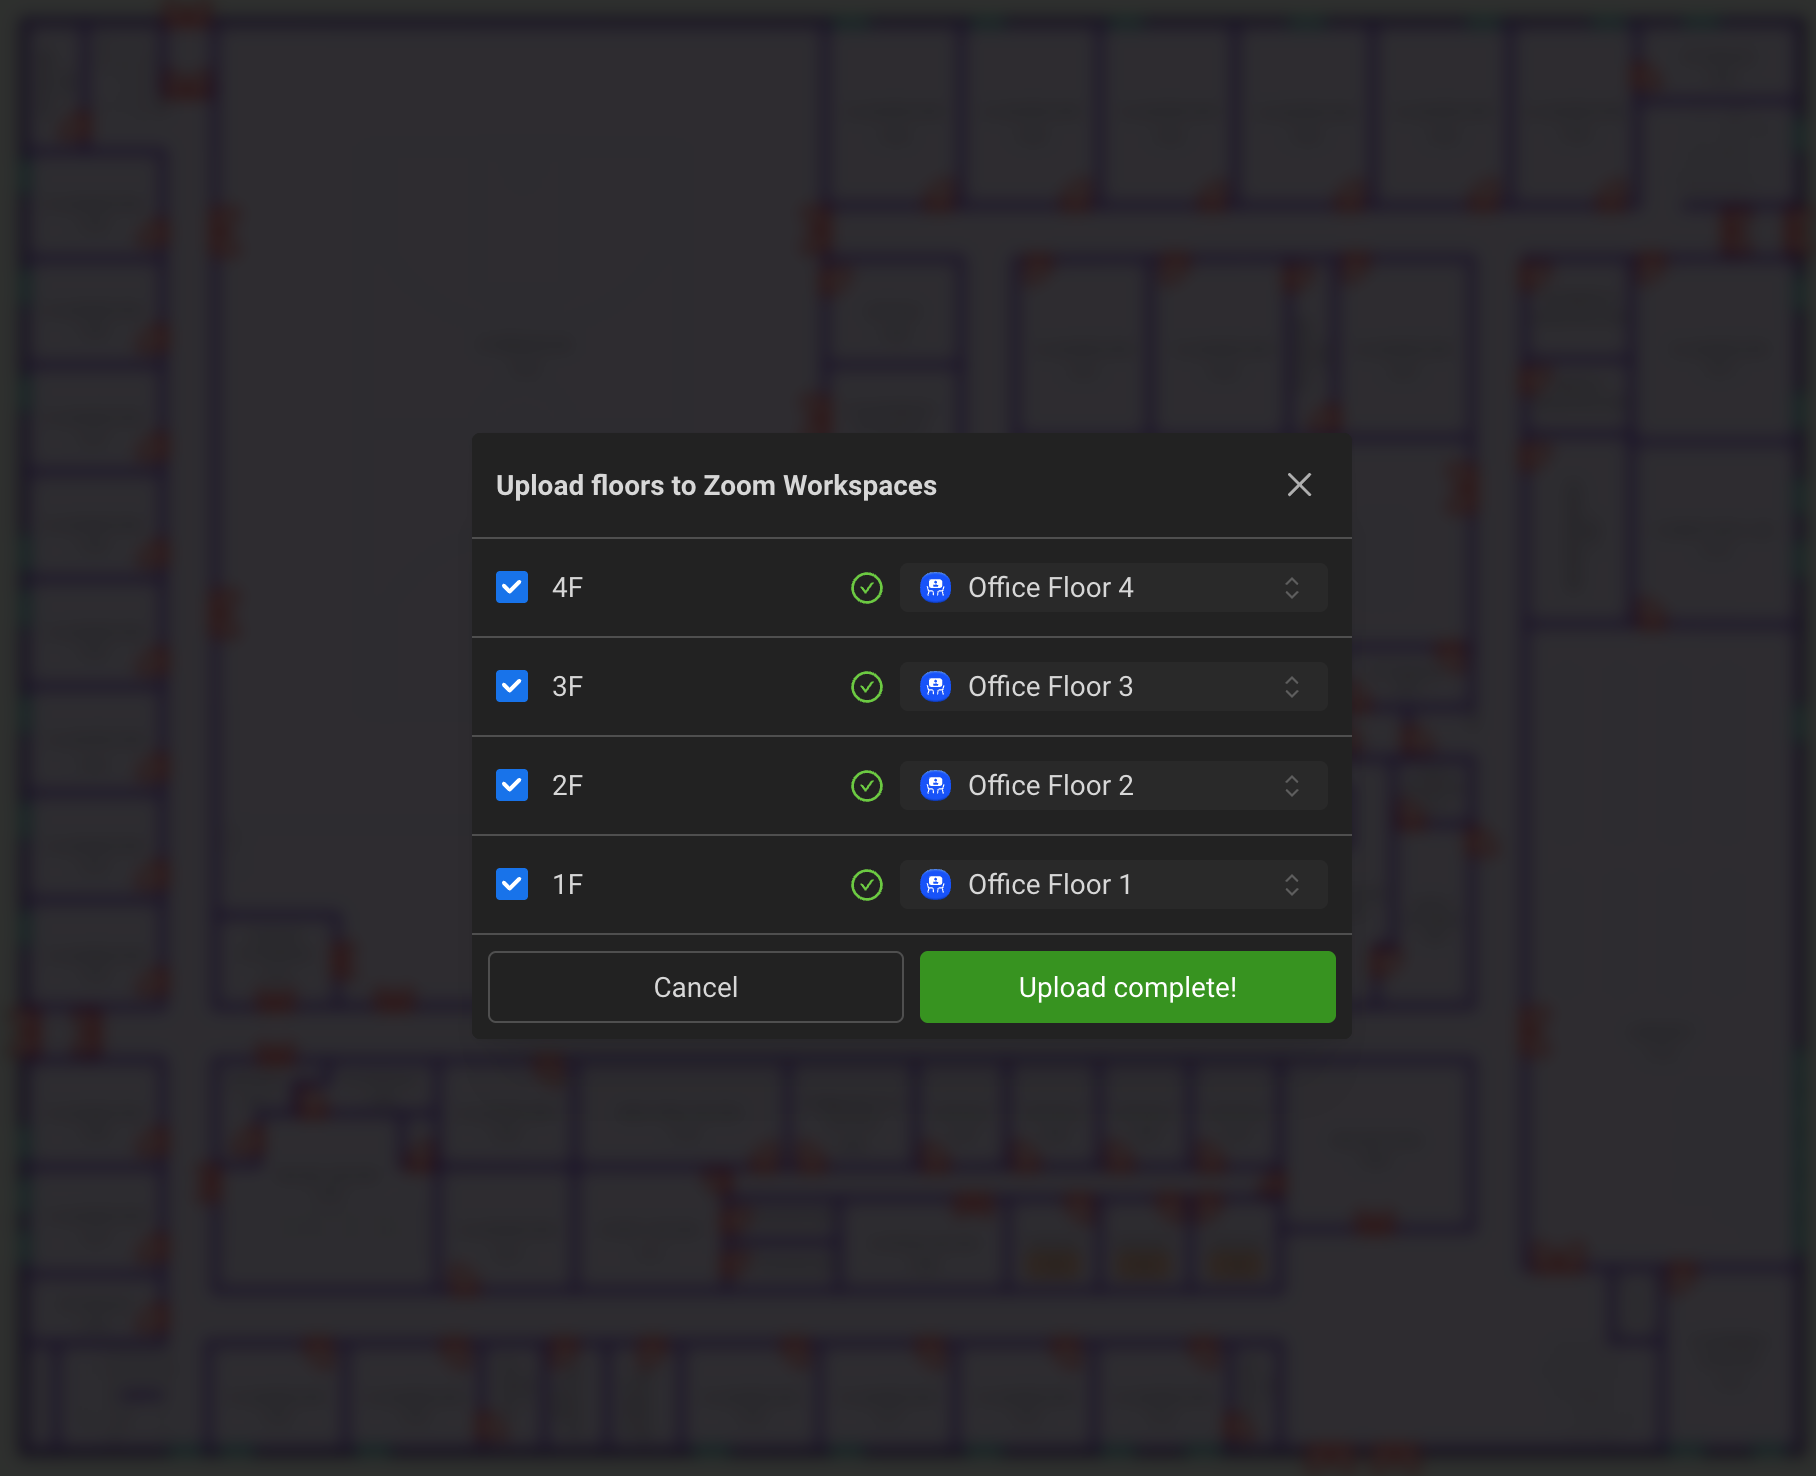
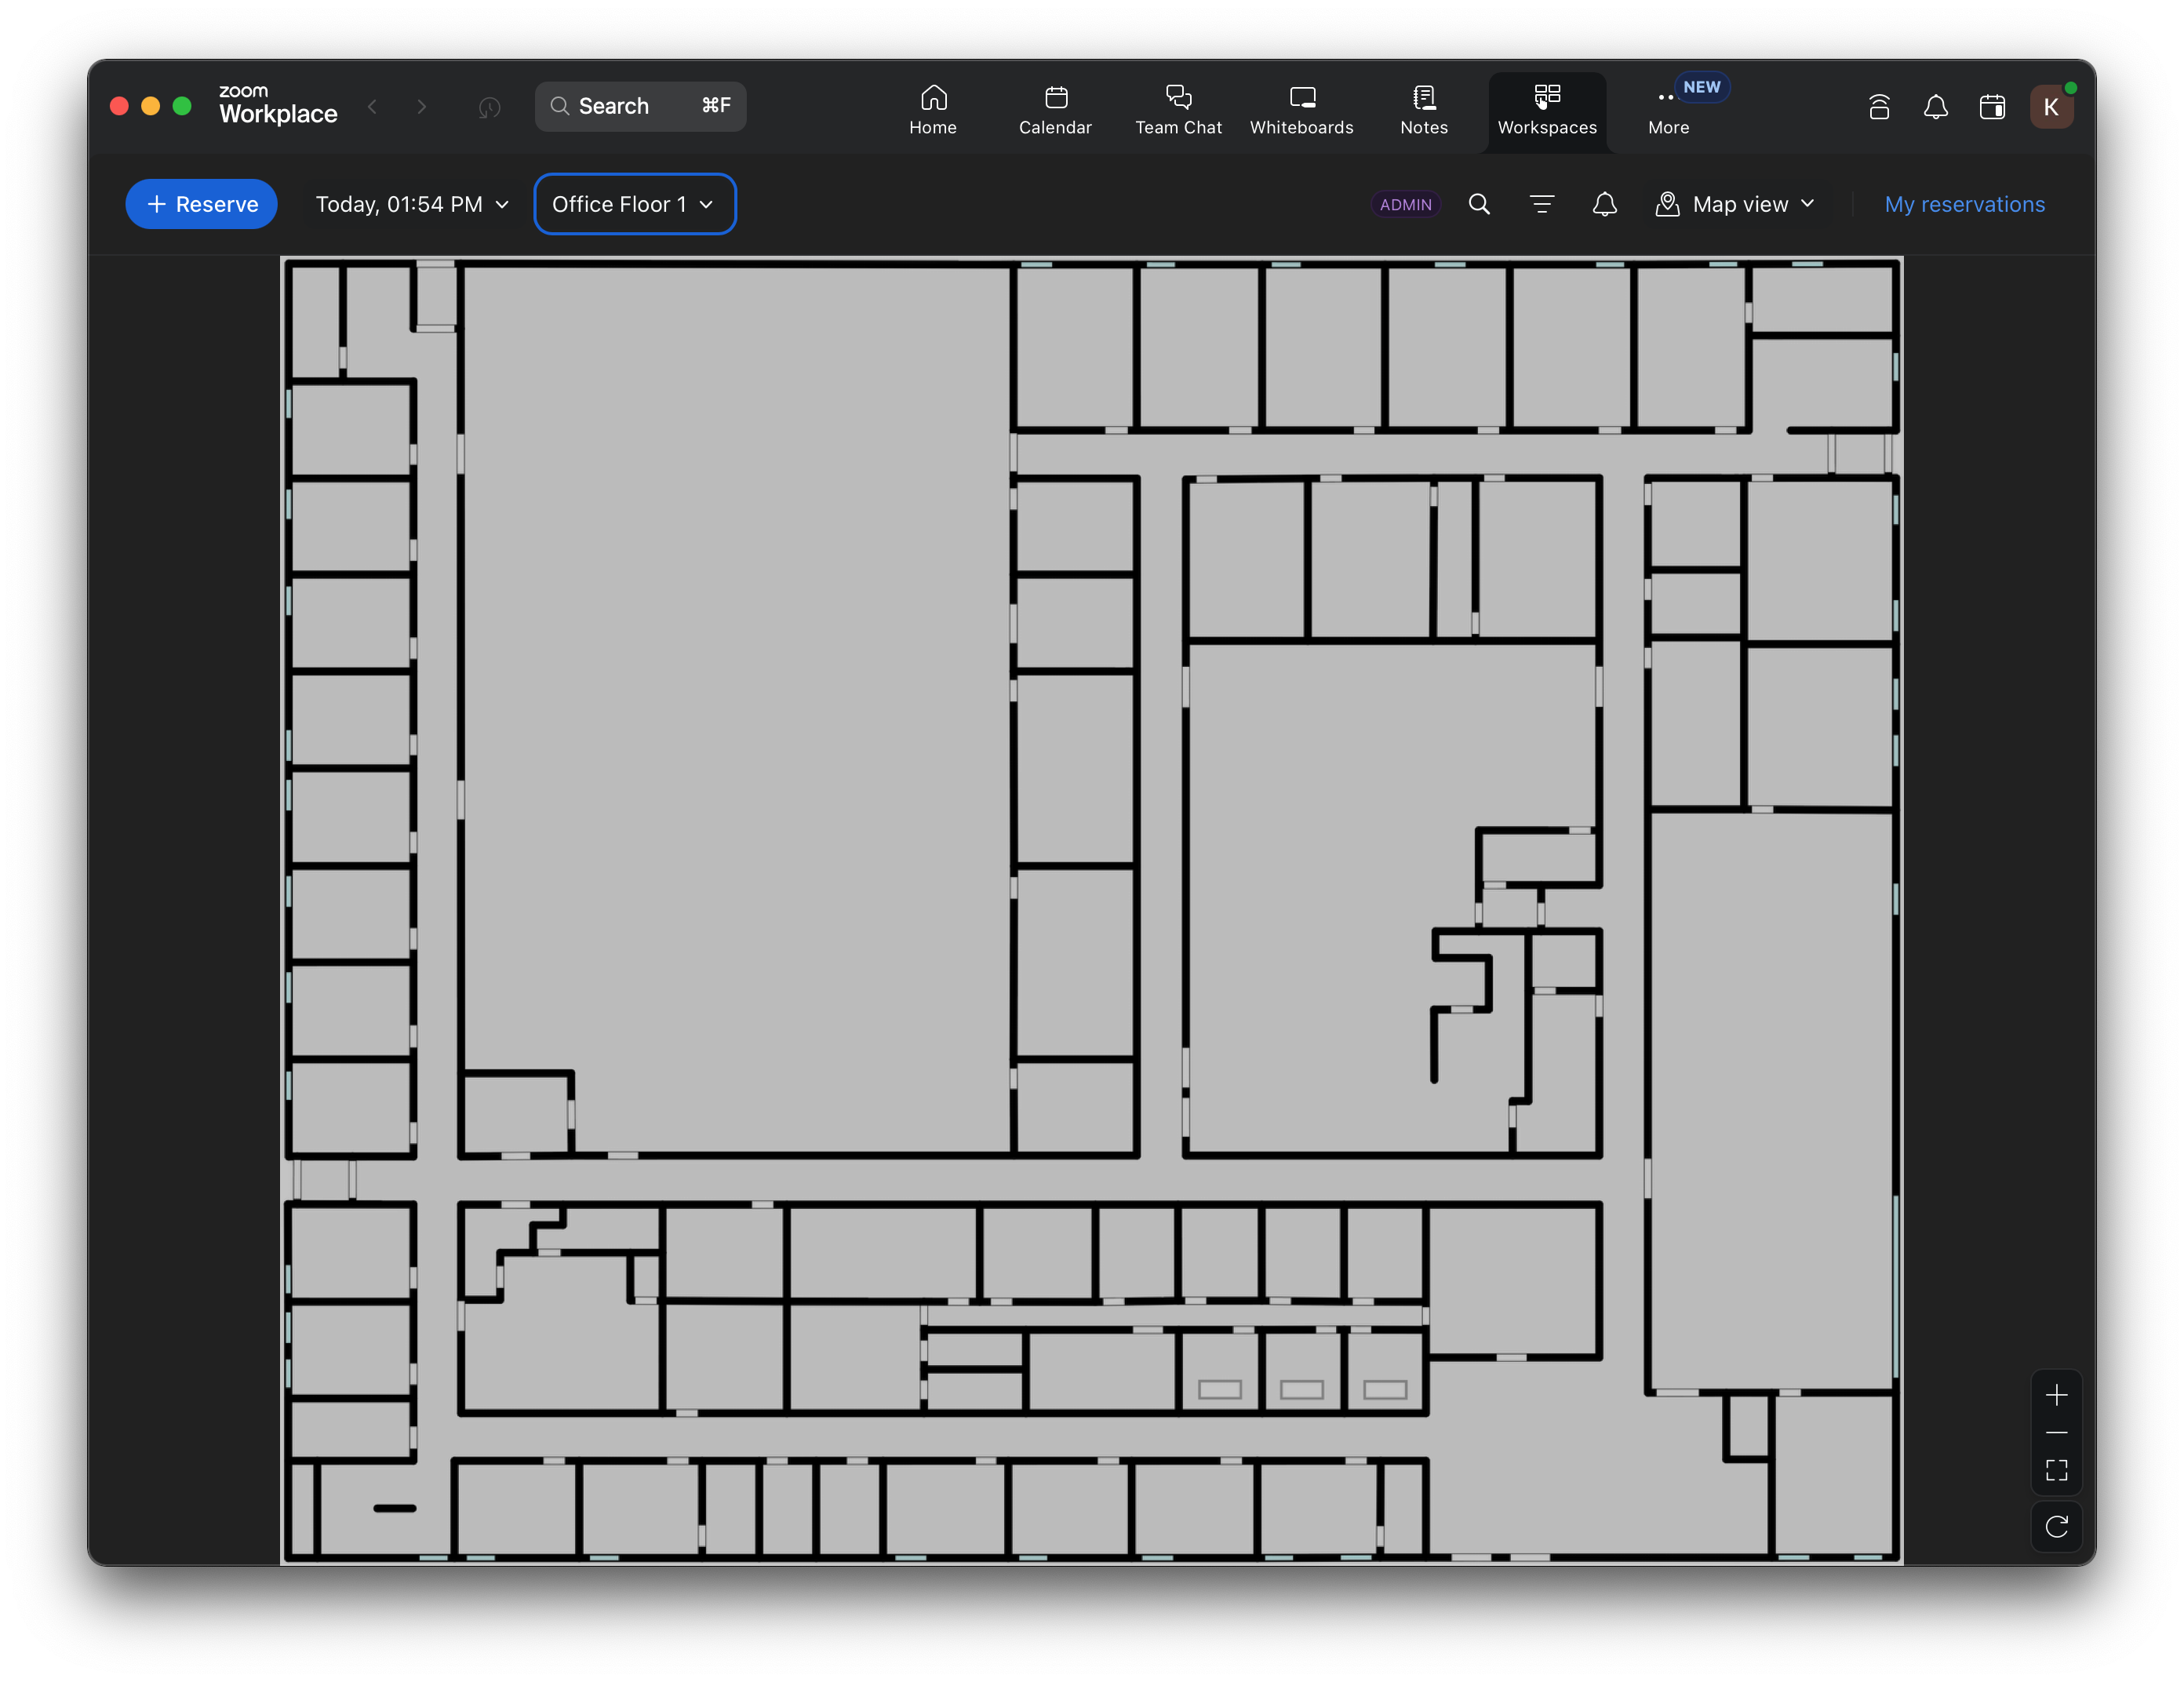
- Once this is done, go into your Zoom Workspace Management dashboard to see your uploaded floor plans.
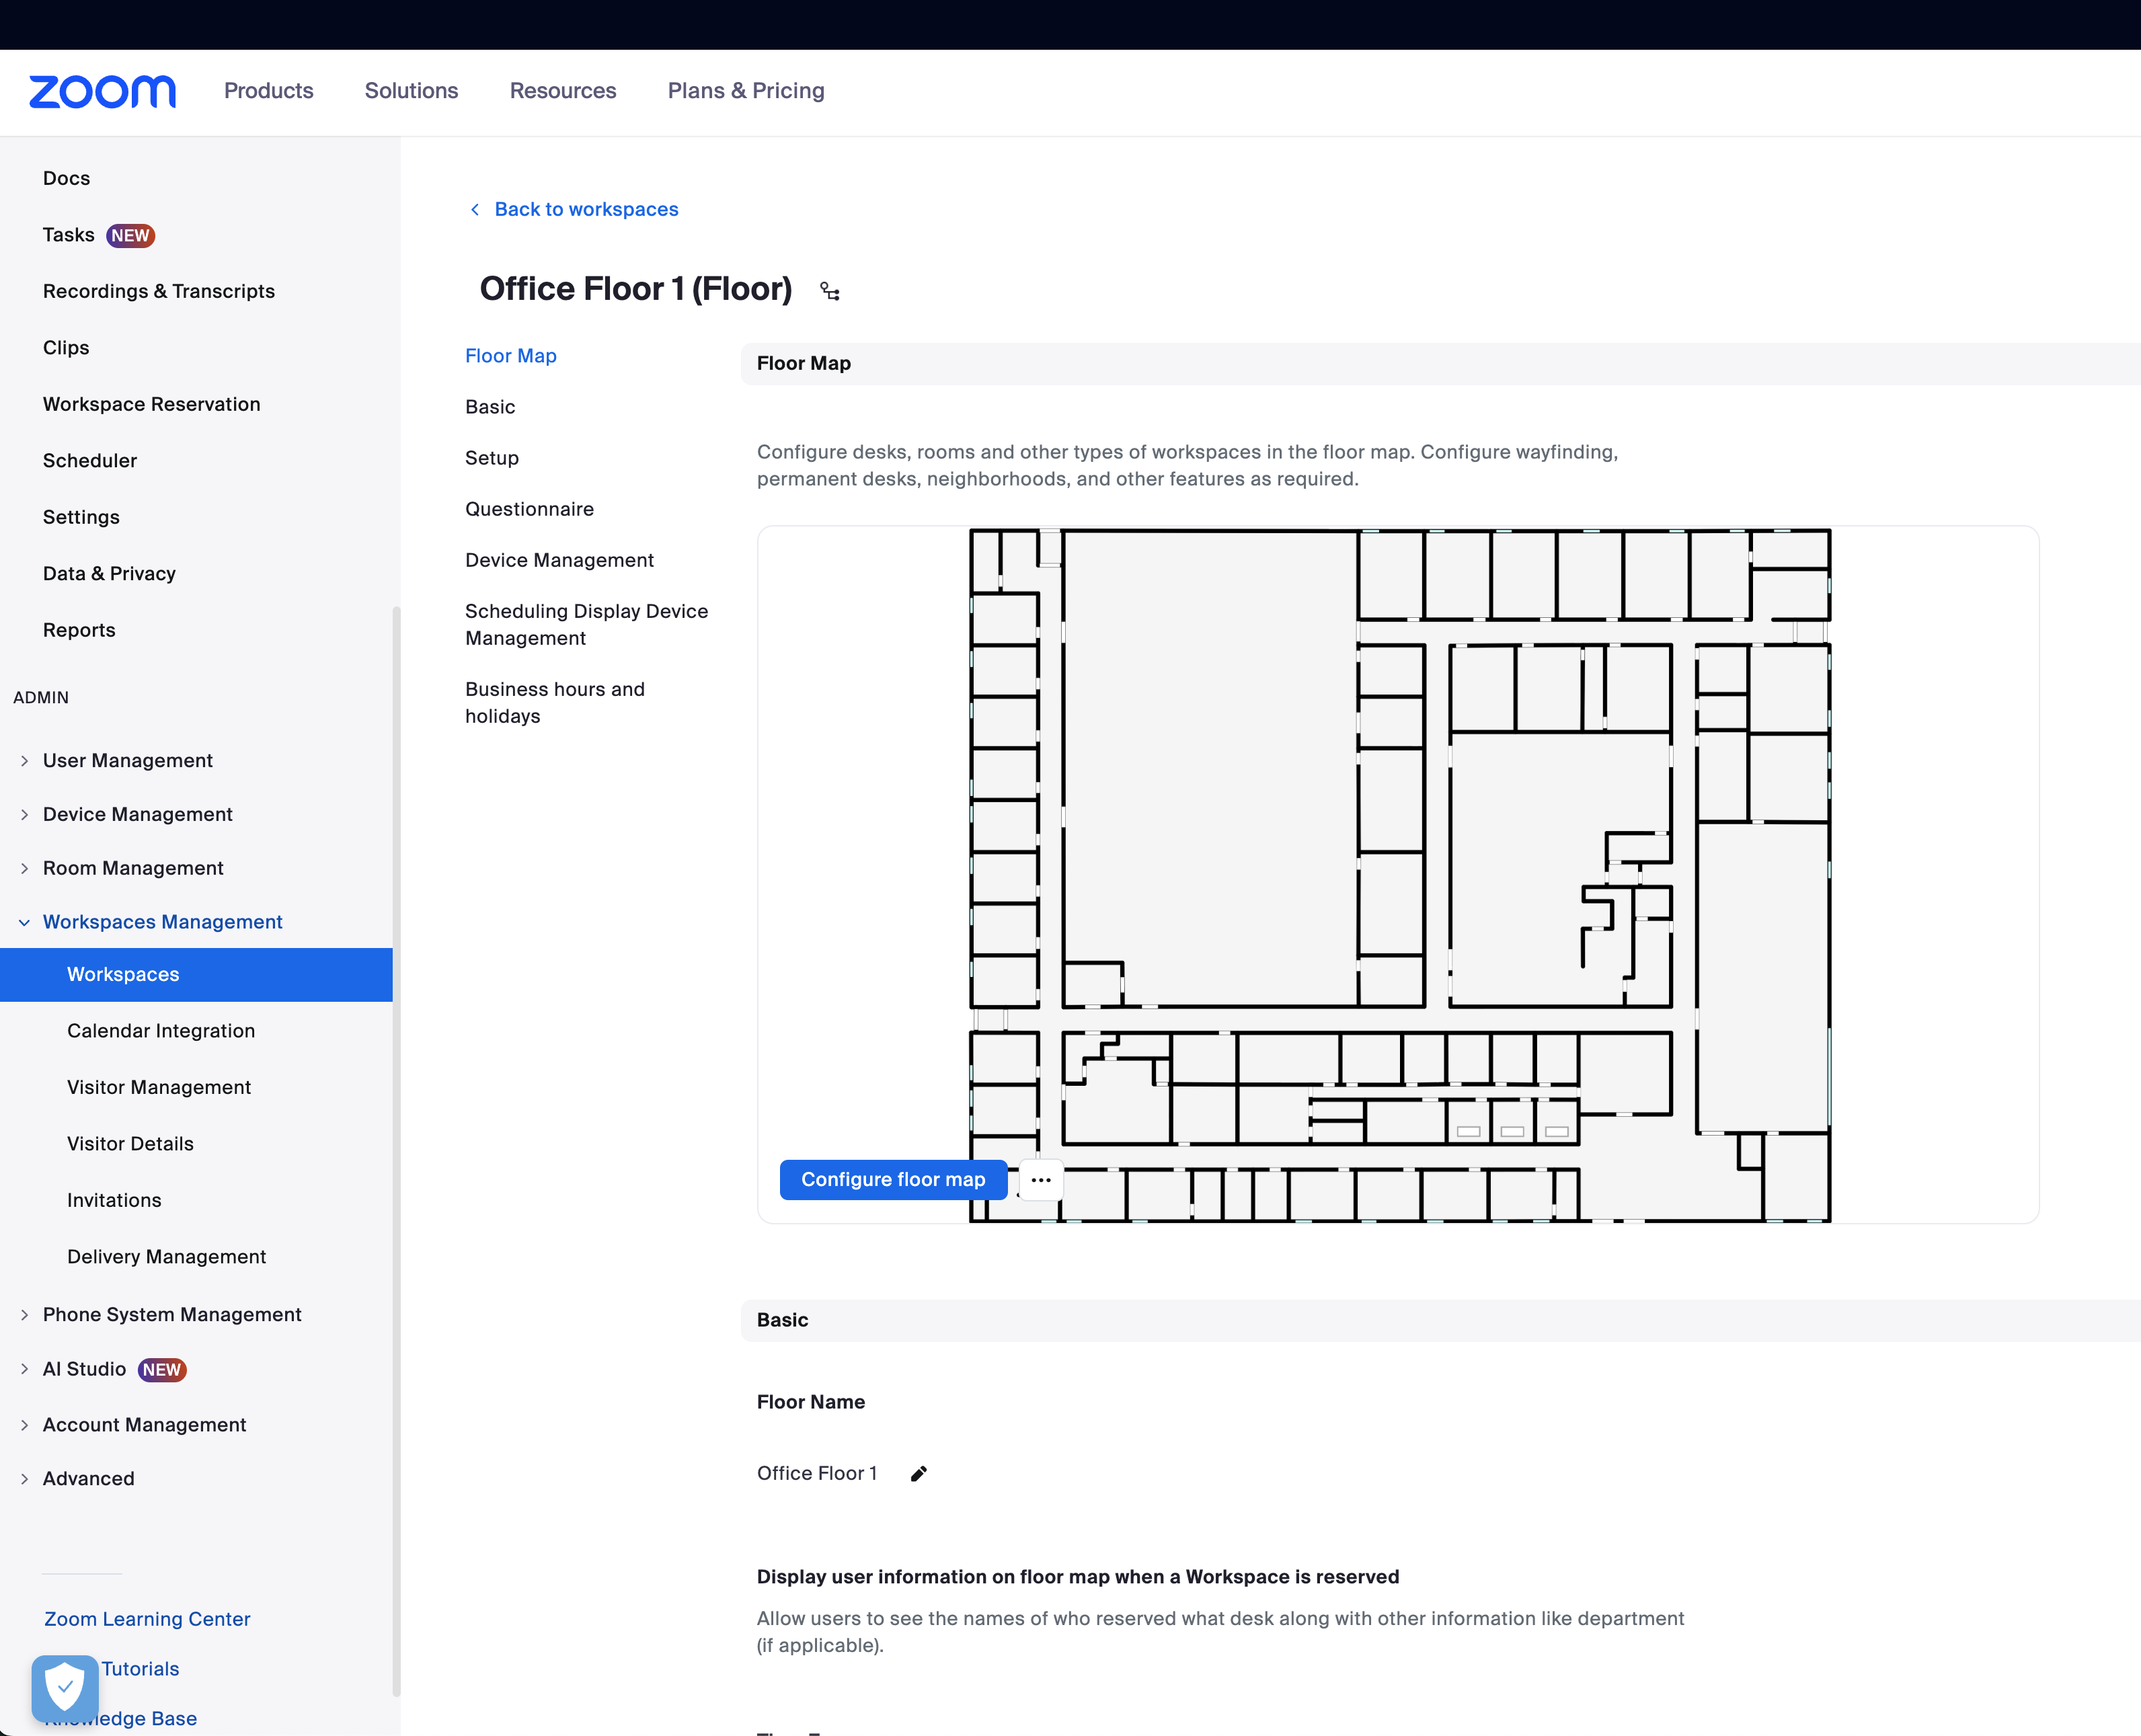
- The map should now be available in Zoom Rooms.
Removing Mappedin from Zoom Rooms
Through Mappedin
To disable the Zoom Rooms integration using the Mappedin interface:
- Open Mappedin Maker
- Proceed to the Integration dashboard
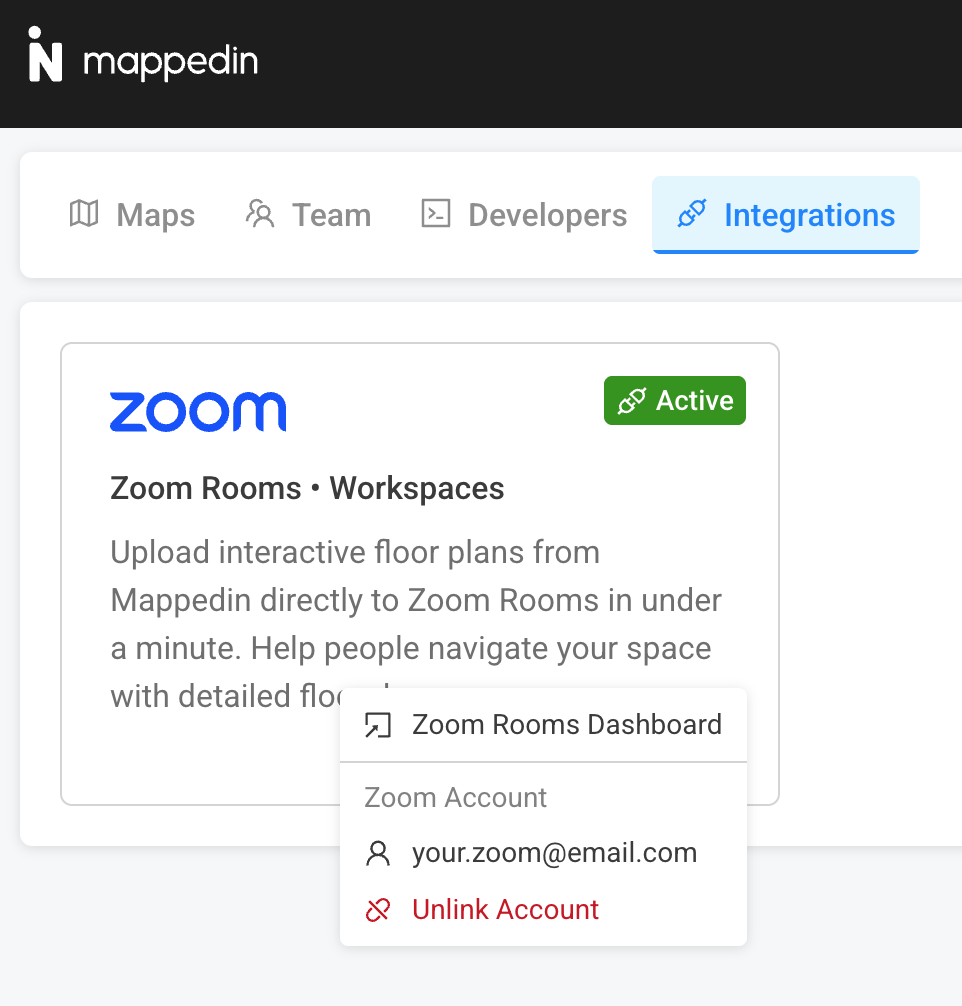
- The Zoom panel will have an "Active" badge when it is enabled
- Click on the settings button in the bottom right corner
- In the settings menu, press "Unlink Account"
- Accept the confirmation dialog
Through Zoom App Marketplace
To disable the Zoom Rooms integration using the Zoom App Marketplace:
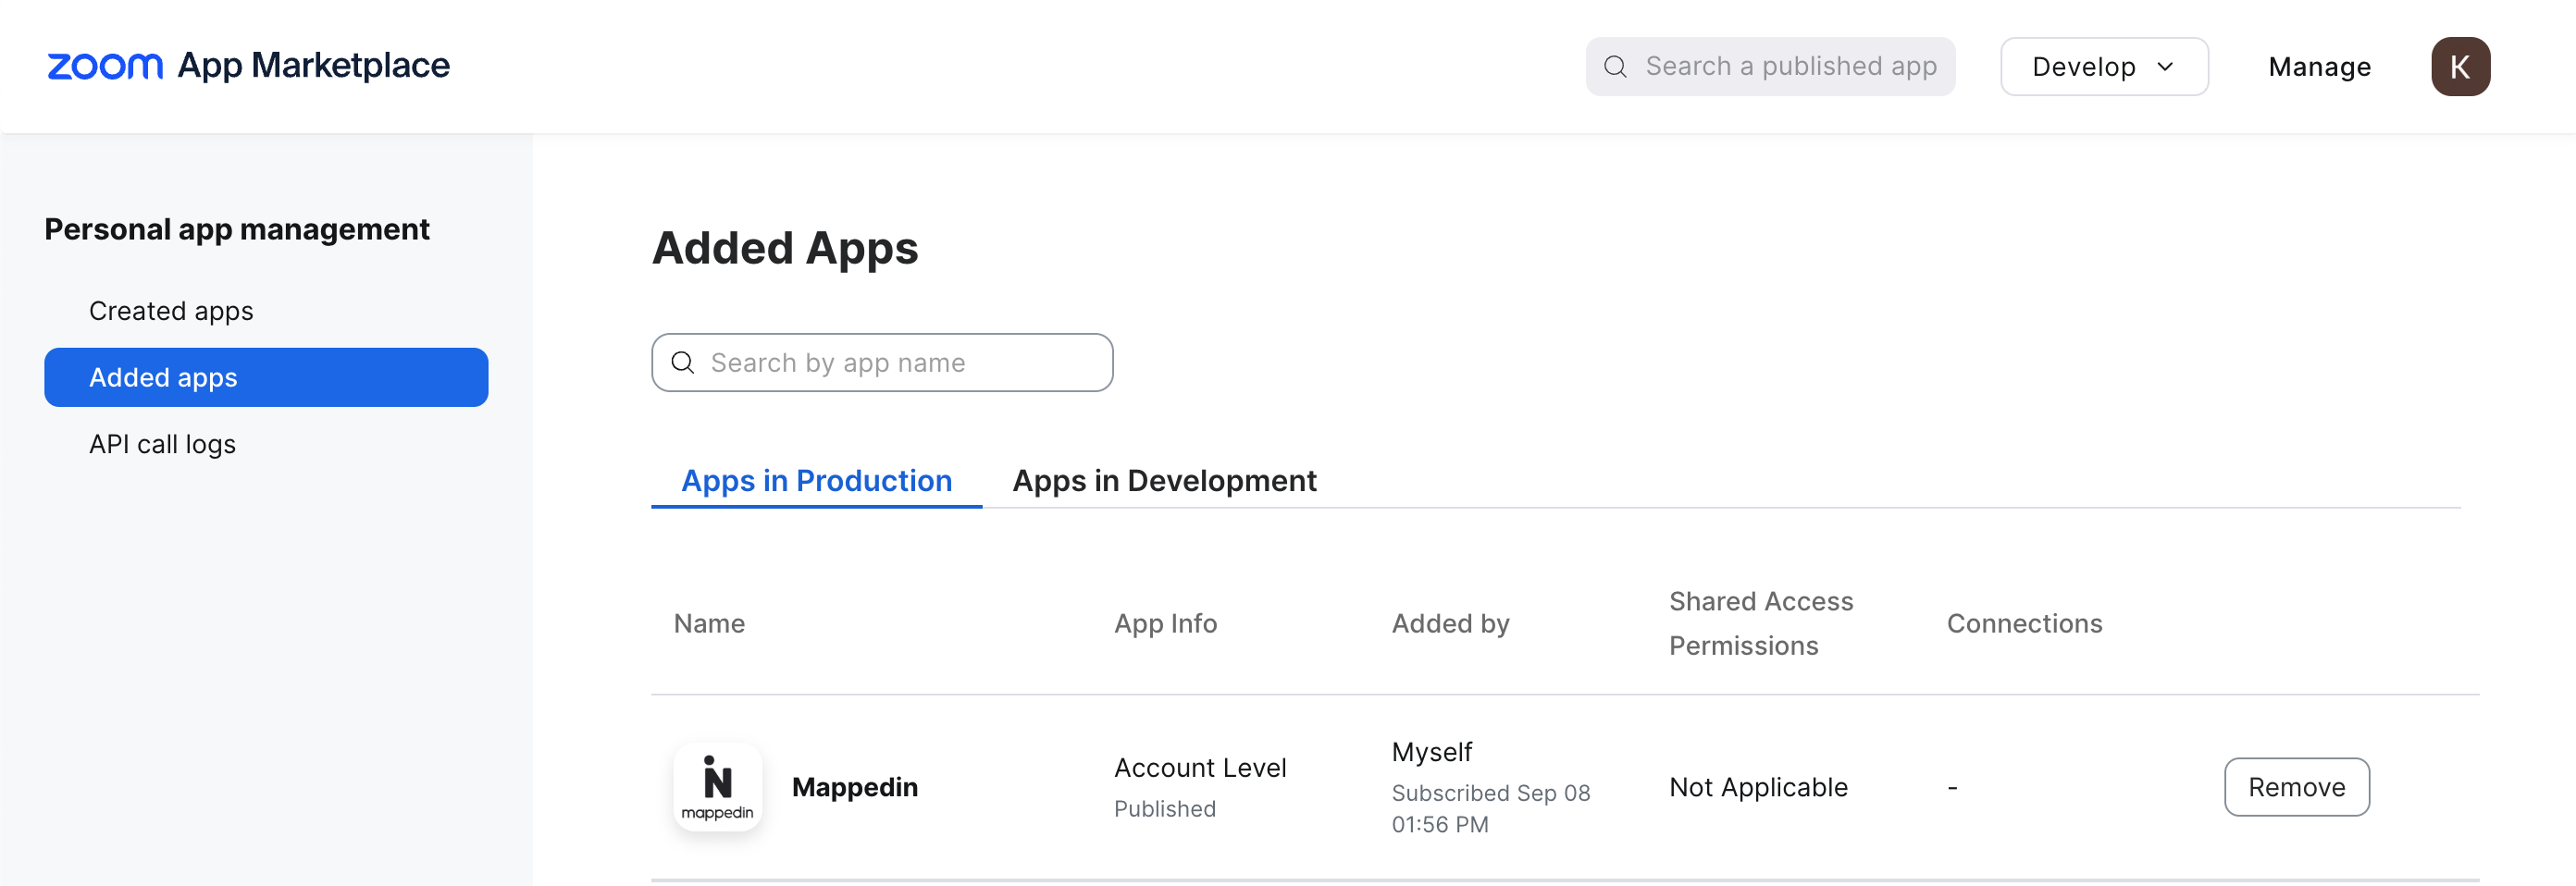
- Open the Zoom Rooms Marketplace
- Select "Manage"
- Under "Personal App Management", select "Added Apps"
- Find the Mappedin application
- Press the "Remove" button