Images, Textures & Colors
Using Mappedin SDK for Android with your own map requires a Pro license. Try a demo map for free or refer to the Pricing page for more information.
Images, textures and colors can enhance the fidelity of an indoor map. They can be used to add custom branding, highlight important features, or provide additional information to users. Images can be placed on any Anchorable target on the map and given a verticalOffset to control the height at which the image is displayed. Textures can be applied to the top or sides of a MapObject, Space, Door or Wall.
Requirements & Considerations
JPEG and PNG images are supported for both images and textures. It's important to consider the size of all unique image files displayed on a map at one time. Using many unique images may cause instability on mobile devices with limited GPU memory. Mappedin SDKs will cache and reuse images that have the same URL, resulting in reduced memory usage. The following calculations illustrates how much memory is used for a given image:
Formula: width * height * 4 bytes/pixel = memory used
512 x 512 Pixel Image: 512px * 512px * 4 bytes/pixel = 1MB
4096 x 4096 Pixel Image: 4096px * 4096px * 4 bytes/pixel = 64MB
Creating Images for Spaces
When creating images to be used as the floor of a space, it's important that the image dimensions match the space to avoid it leaking into adjacent spaces. An SVG export of the map can be useful to determine the correct dimensions. The following steps demonstrate how to create an image that matches a space's dimensions using Figma. Similar steps could be used in other image editing tools that support the SVG format.
- Log into Mappedin Maker and select the map you want to create an image for.
- Click on the Download button and choose
Download as SVG. - Import the SVG into Figma (File > Place Image).
- Select the geometry to create the image for by clicking near the center of it (not the edge).
- Choose File > Place Image to place the image you want to use as the floor.
- Click the geometry to fill.
- Click Export (bottom right).
- Choose format (PNG or JPEG), size and export.
The exported image should match the dimensions of the space.
Images
The Image3D class is accessed through MapView.image3D and used to add and remove images to and from the map. Images can be placed on any Door, Space, or Coordinate. AddImageOptions is used to configure the image and specifies its width, height, rotation, vertical offset and whether the image is rotated to face the camera. The following example places an image on a Space named "Arena".
A complete example demonstrating Images can be found in the Mappedin Android GitHub repo: Image3DDemoActivity.kt
mapView.mapData.getByType<Space>(com.mappedin.models.MapDataType.SPACE) { r ->
  r.onSuccess { spaces ->
    // Find the Arena Floor space
    val arenaFloor = spaces.find { it.name == "Arena Floor" }

    // Add the default hockey image to the arena floor
    arenaFloor?.let { floor ->
      val imageResource = getImageResource(0)
      val opts =
        AddImageOptions(
          width = 1014 * pixelsToMeters,
          height = 448 * pixelsToMeters,
          rotation = 239.0,
          verticalOffset = 1.0,
          flipImageToFaceCamera = false,
        )
      mapView.image3D.add(floor, imageResource, opts) { }
    }
  }
}

// Helper function to get the image resource.
private fun getImageResource(position: Int): String =
  when (position) {
    0 -> "https://appassets.androidplatform.net/assets/arena_hockey.png"
    1 -> "https://appassets.androidplatform.net/assets/arena_basketball.png"
    2 -> "https://appassets.androidplatform.net/assets/arena_concert.png"
    else -> "https://appassets.androidplatform.net/assets/arena_hockey.png"
  }
Textures & Colors
Walls, doors, floors and objects can be given textures or colors, which can be applied individually to the top or sides. The GeometryState is used to configure the texture and color, which is applied by calling MapView.updateState().
When applying textures to walls it is important to set Show3DMapOptions.shadingAndOutlines to false when calling MapView.show3dMap. This will prevent lines from being drawn between the top and side textures.
Be sure to review the Requirements & Considerations section before applying textures.
A complete example demonstrating Colors & Textures can be found in the Mappedin Android GitHub repo: ColorsAndTexturesDemoActivity.kt
Doors
The top and sides of a door can be given textures or colors. The example below demonstrates how to set the color of all interior and exterior doors. Doors can also be made visible on an individual basis by passing in a Door object to MapView.updateState().
// Make interior doors visible, sides brown and top yellow
mapView.updateState(
  Doors.INTERIOR,
  DoorsUpdateState(
    visible = true,
    color = "brown",
    topColor = "yellow",
    opacity = 0.6,
  ),
)

// Make exterior doors visible, sides black and top blue
mapView.updateState(
  Doors.EXTERIOR,
  DoorsUpdateState(
    visible = true,
    color = "black",
    topColor = "blue",
    opacity = 0.6,
  ),
)
Objects
Objects can be given textures or colors, which can be applied individually to the top and sides. The following example demonstrates how to set the texture of the side and color of the top of all objects.
// Update all objects with side texture and top color
mapView.mapData.getByType<MapObject>(MapDataType.MAP_OBJECT) { result ->
  result.onSuccess { objects ->
    for (obj in objects) {
      mapView.updateState(
        obj,
        GeometryUpdateState(
          texture = GeometryUpdateState.Texture(url = objectSideURL),
          topColor = "#9DB2BF",
        ),
      )
    }
  }
  result.onFailure { error ->
    Log.e("MappedinDemo", "Error getting objects: $error")
  }
}
Spaces
The floor of a space can be given a texture or color. When creating an image for the floor of a space, it's important that the image dimensions match the space to avoid it leaking into adjacent spaces. Refer to the Creating Images for Spaces section for more information. The following example demonstrates how to set the texture of the floor for all spaces.
// Update all spaces with floor texture
mapView.mapData.getByType<Space>(MapDataType.SPACE) { result ->
  result.onSuccess { spaces ->
    for (space in spaces) {
      mapView.updateState(
        space,
        GeometryUpdateState(
          topTexture = GeometryUpdateState.Texture(url = floorURL),
        ),
      )
    }
  }
  result.onFailure { error ->
    Log.e("MappedinDemo", "Error getting spaces: $error")
  }
}
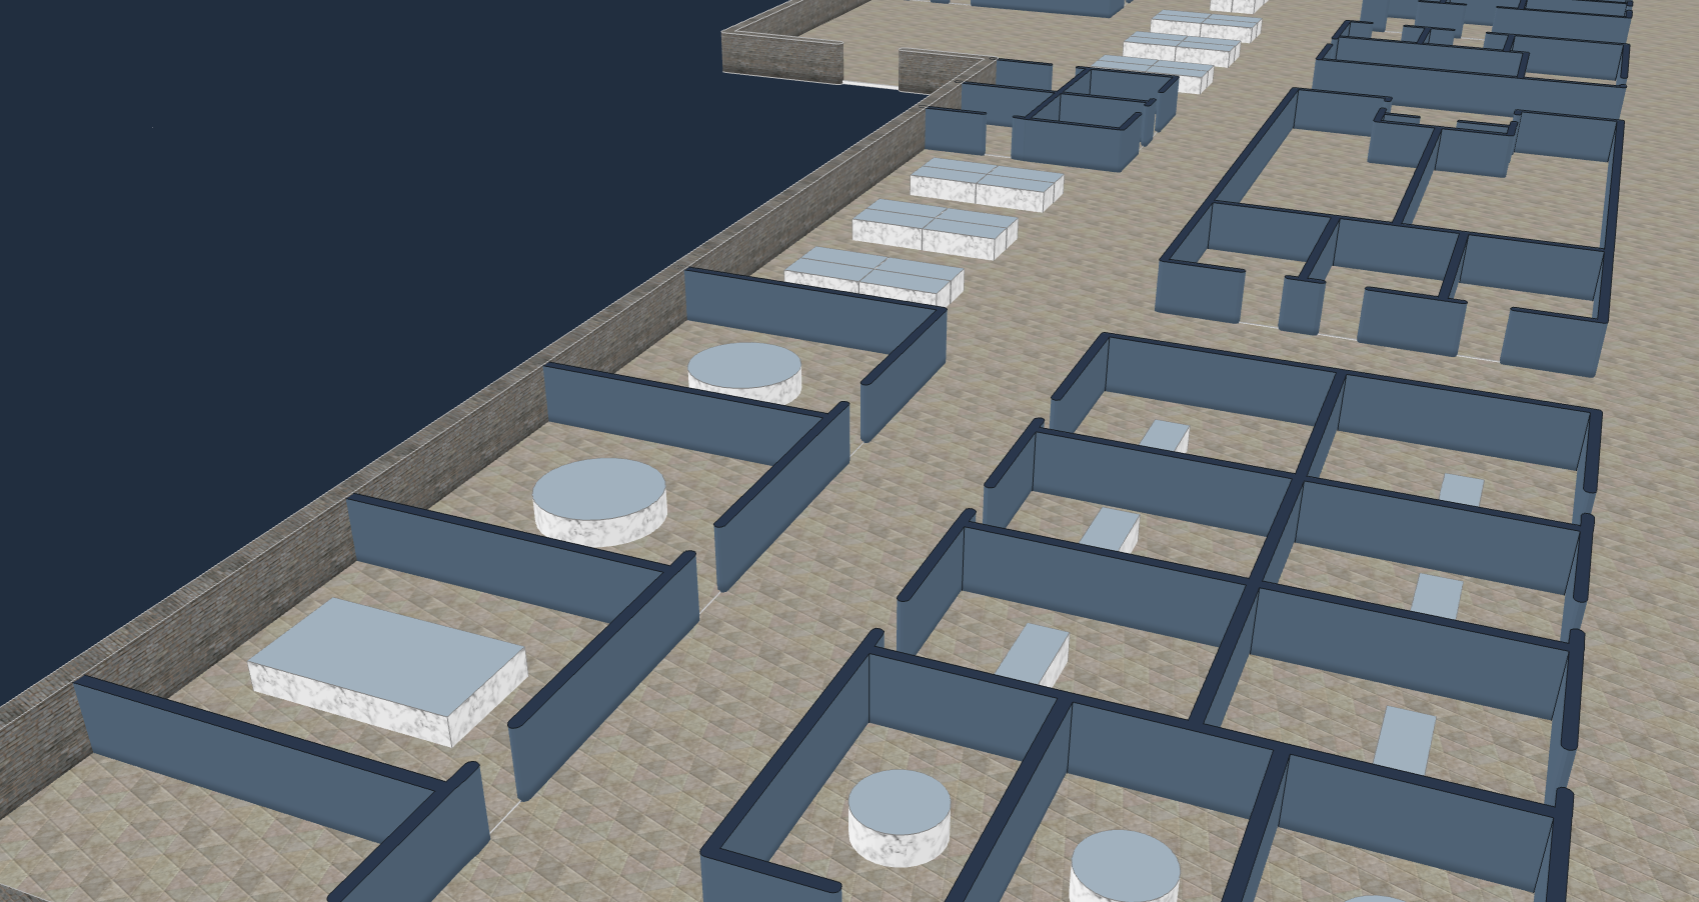
Walls
The exterior and interior walls of a building can be targeted with different textures and colors. The following example demonstrates how to set the texture of an exterior wall and the colors of interior walls. Note that both types of walls support textures and colors.
// Update interior walls with colors
mapView.updateState(
  Walls.INTERIOR,
  WallsUpdateState(
    color = "#526D82",
    topColor = "#27374D",
  ),
)

// Update exterior walls with textures
mapView.updateState(
  Walls.EXTERIOR,
  WallsUpdateState(
    texture = WallsTexture(url = exteriorWallURL),
    topTexture = WallsTexture(url = exteriorWallURL),
  ),
)